

This is awkward...
It looks like that content is gone.
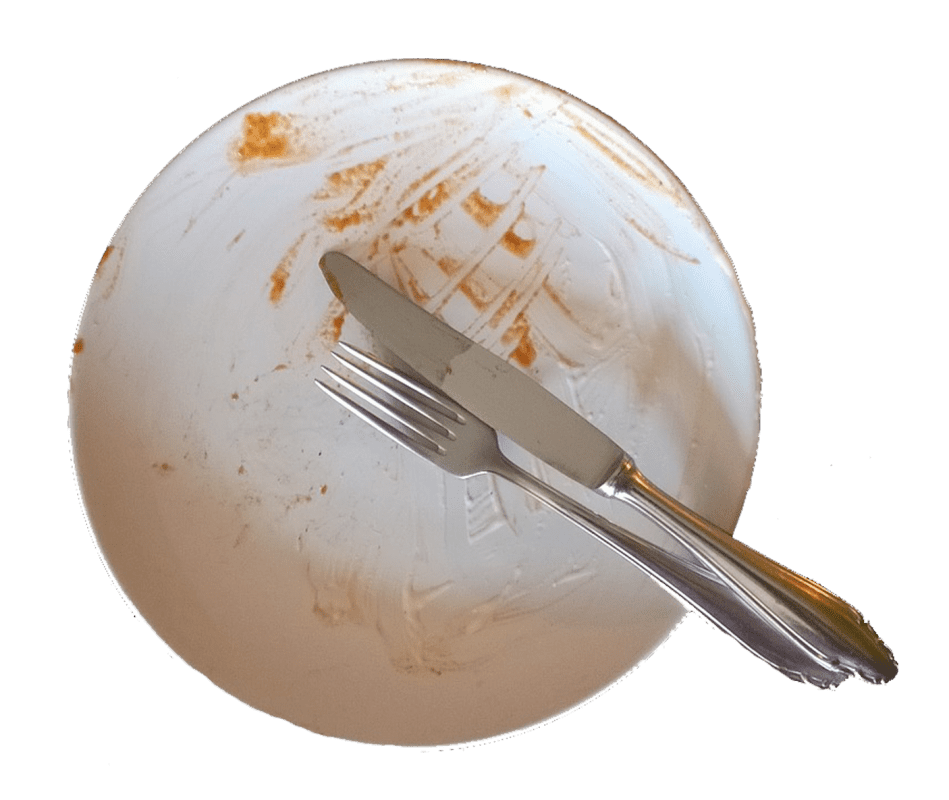
What you're looking for has either been hungrily gobbled up by other users or has mysteriously gone missing.
This happens once in a while, usually because we regularly remove old content that doesn't belong here anymore.
Maybe you'd like to take a look at our most popular content instead.


You can also use the search bar below to find what you're looking for.